
How To Add New User Account to Windows 10? How to Create a New User on Windows 10? Adding a New User Local Account in Windows 10, How to create a second user on the computer?
Contents
How To Add New User Account to Windows 10?
As you know, to use Windows more than one person, everyone can create an account and work on separate desktop and files. Sometimes the most logical way to entrust someone to the computer without much tampering is to create a new user or guest account. In this article, how to add a new Windows 10 User Account? We explained it in two different ways.
Method 1: Create a new local user account
- Click the Start menu and Settings icon.
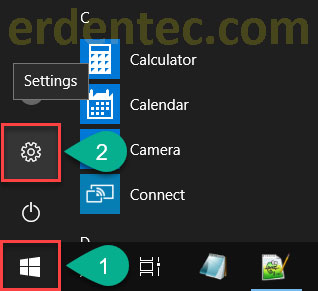
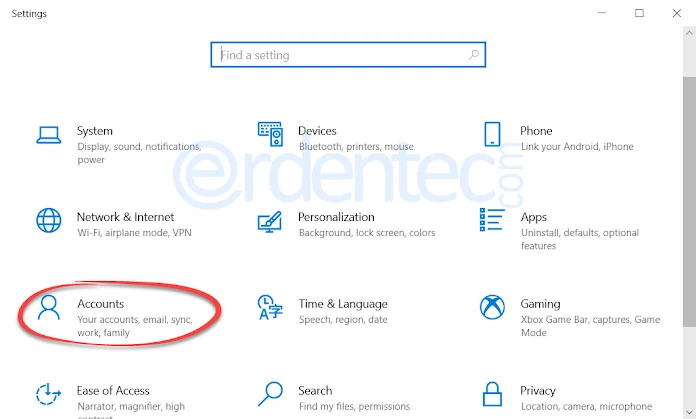
- Click “Accounts” on the screen that opens.
- Then switch to the “Family and other users” tab in the left panel. You can create two types of accounts on the right.
Family account: You can control it by adding a family member in this account type. Add your family so everyone has their own sign-in account and desktop. You can help children stay safe with appropriate websites, time limits, apps and games.
Other user account: Allow people who are not part of your family to sign in with their own account in this account type. This does not add them to your family.
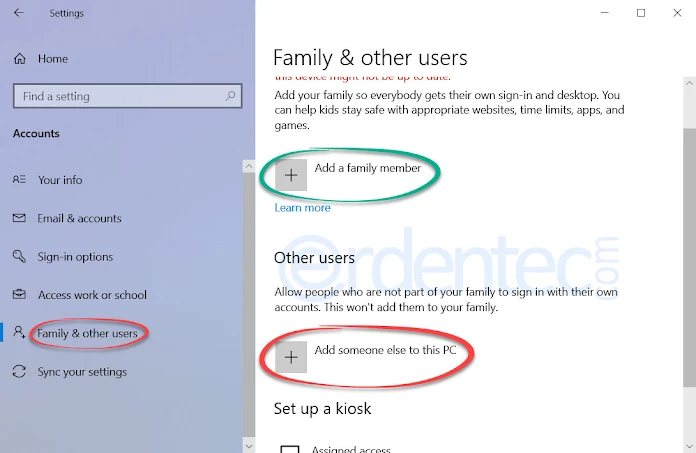
- Once you have decided which account type to add, click “Add a family member” or “Add someone else to this PC” if you now decide which one to add.
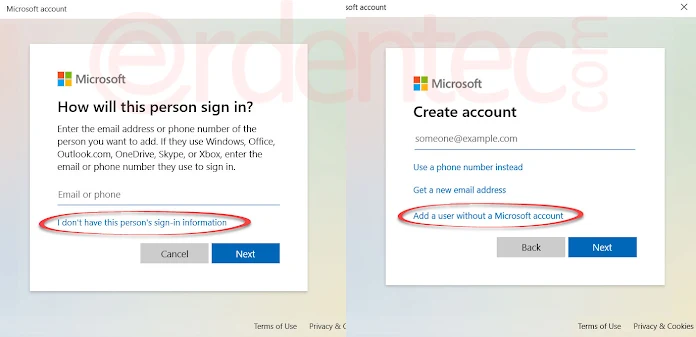
- Click on the “I don’t have this person’s sign-in information” link as we will add a local account on the screen. On the next screen, click on the “Add a user without a Microsoft account” link.
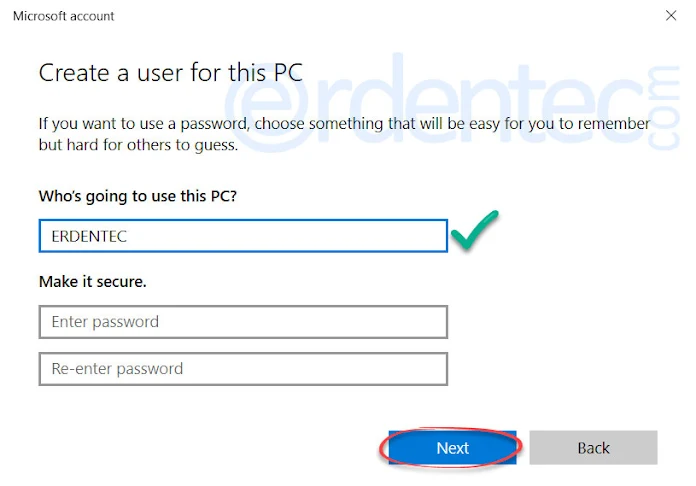
- Finally, “Who’s going to use this PC?” Enter the name of the user you will create in the new section (We do not recommend using Turkish characters here.) If you want to password-protect this account, you can enter a password. If your transactions are finished, click the “Next” button to complete the transactions. Your new user can now log in.
Method 2: Add new users with computer management
- Press
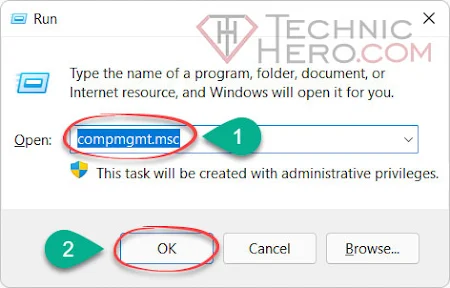
 Win+R keys together on your keyboard. The Run window will open. Type “compmgmt.msc” in the Open section and press the OK Button.
- We will see the Computer Management panel. Here, click on “Local Users and Groups” then “Users” in the left panel.
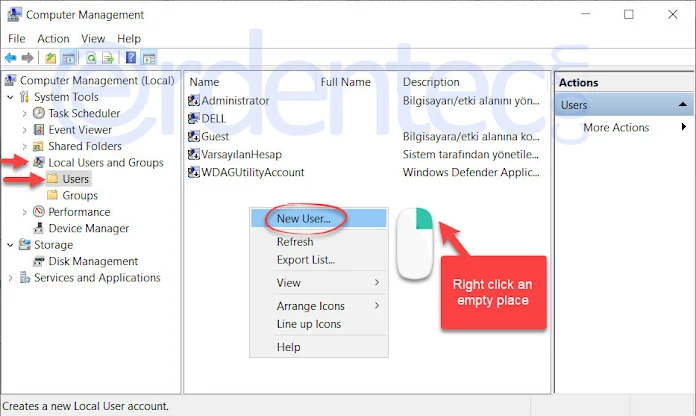
- You will see a list of user names on the computer. Now Right click on a blank place on this screen with your mouse and click on “New User …”
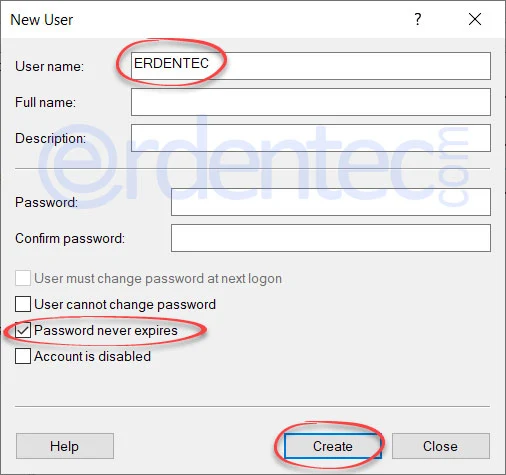
- In the new window that opens, you will enter the information of the new user. Here, enter the name of the account you will create in the “User Name:” section (I do not recommend you to enter Turkish characters). Then set it if you want a Password. Finally, we complete the process by removing the “User must change password at next session” option and selecting the “Password always valid” option, and clicking “Create” and “Close” respectively.
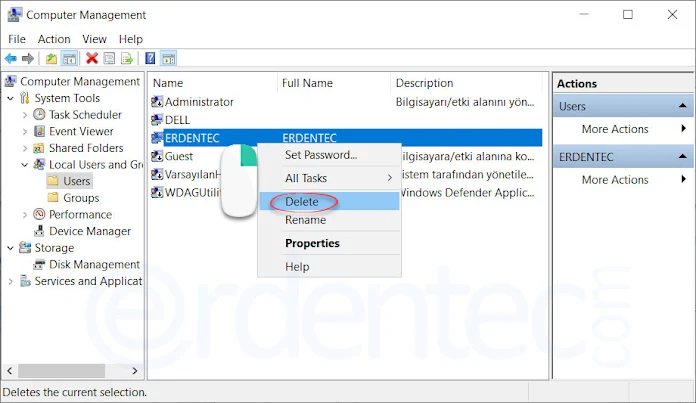
Deleting a user account
To delete an existing user account, you can delete the account you want to delete with the right mouse button and click “Delete” option.
Good work…


")
