
How to Change Network Profile on Windows 10? Change Current Network Location, Make Network profile Public or private in Windows 10. Changing Windows Network Types (Home Network, Private Network, Public Network)
Contents
Windows Network Profiles
When using a network in Windows, we can use the network as two different profiles. These are Orat and Private networks. In private networks, computers rely more on each other. Slightly stricter security rules are effective in public networks. For example, you can create a private network in your home or workplace and carry out all your necessary work. however, if you are on a network that you do not trust and trust, for example, Airport, Hotel, Restaurant etc. You can use the internet more safely by choosing the common network.
However, sometimes we may want to change the network profile we use. For example, in order to connect multiple computers to the same network, we must use all computers in the same network profile. Thus, all computers can communicate with each other. Or, we may want to use a network that we previously selected as a Public network as a Private network. Here in this article we will tell you how to change the current network profile.
Each network type must use a network profile. For example, if you sometimes connect an Ethernet cable sometimes with Wi-Fi, you have to choose a network profile for both. Or if you are connecting to the internet with two different Wi-Fi, the network type can be selected differently in both Wi-Fi.
Change Network Profile from Settings
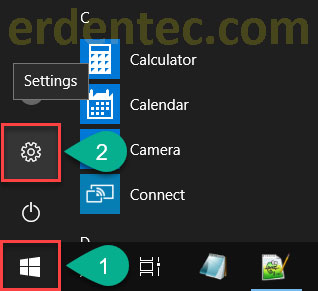
- Click the Start menu and Settings icon.
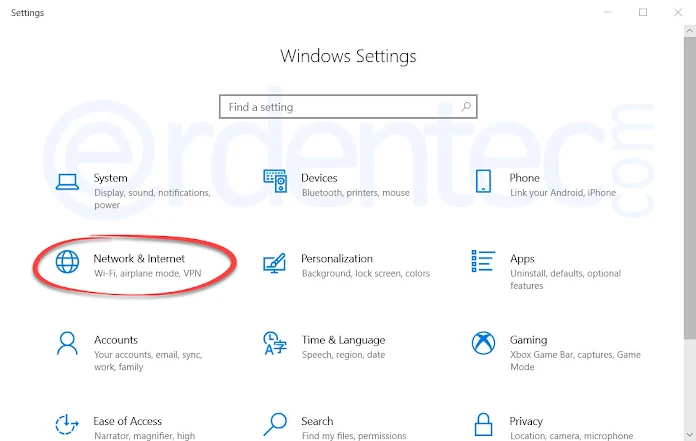
- In the window that opens, click on Network & Internet.
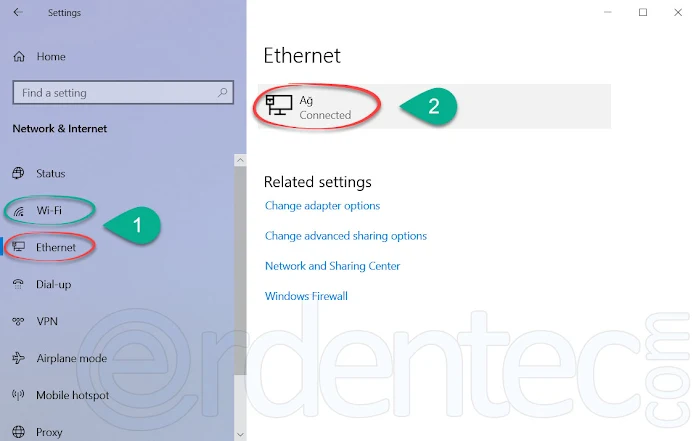
- On the next screen, click on which network you use from the options on the left. Select “Ethernet” if you are connected with an Ethernet cable. Select “Wi-Fi” if you are connected via a Wi-Fi network. Then click on the network you are connected to.
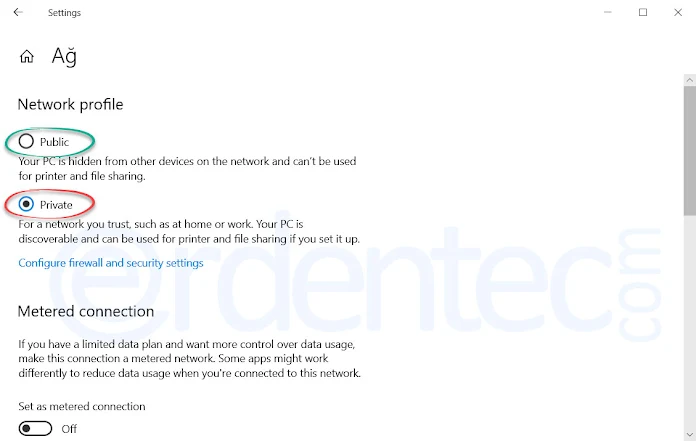
- You can change your Network profile to Public or Private in the new screen.
Change Current Network Location with PowerShell
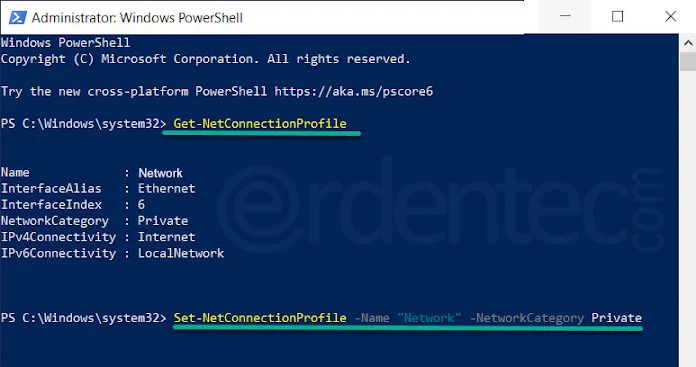
We can also change the network profile with two lines of code that we enter on the PowerShell screen. For this, we must first learn the name of the Network.
- First, type “PowerShell” in the Start search section and run it as Administrator.
- Then: Enter the command “Get-NetConnectionProfile”. Your network name will be written where the name is written.
- Now type your own Network name instead of your Network name and you can change the Network profile using either Private or Public code. For example: “Set-NetConnectionProfile -Name “Ntwork” -NetworkCategory Private”
1 2 3 | Get-NetConnectionProfile Set-NetConnectionProfile -Name "Ağ isminiz" -NetworkCategory Private Set-NetConnectionProfile -Name "Ağ isminiz" -NetworkCategory Public |
Change Network Location with Local Security Policy
If you are using Windows Pro or Enterprise version. You can also change the Network profile with the Local Security Policy. You can even set a Profile for All networks. If you are on Windows Home and Single Language Version, you cannot use this method because you do not have this Local Security Policy.
- Press
 Win+R keys together on your keyboard.
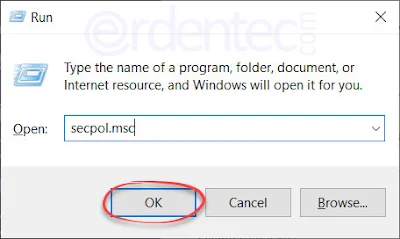
 - The Run window will open. Type “secpol.msc” in the Open section and press the OK Button.
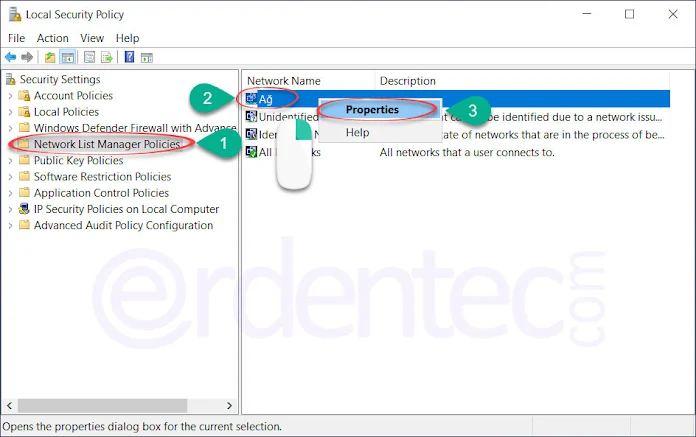
- Select “Network List Manager Policies” in the dropdown list. Right click on the name of the Network you are currently using from the right pane and say “Properties”.
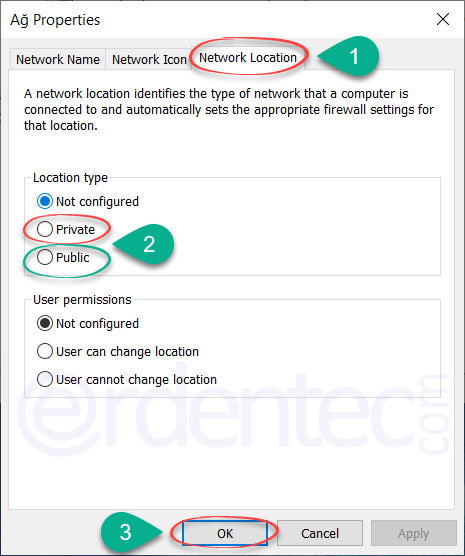
- In the window that opens, switch to the “Network Location” tab. You can choose either Private or Public from the Location type section.
Good work…


")
