
How to Root Android Devices with KingRoot? Guide with Pictures to Root Android Devices, Rooting Android Phones with Kingo ROOT. We will show you how to Root with Kingo Android Root!
Contents
Android Root
One of the most interesting features of Android mobile phones is that you can optimize the system and system files according to your own desires. You need to give root permissions to your phone to be able to optimize the system and access the system files completely.
Rooting is kind of hard work and you may face some breakdown problems called ‘’Brick’’ during the process. To avoid such problems and make it a lot easier to Root, there are some applications to root your device like Kingo Root. You can root the devices without Bootloader lock or unlocked ones very easily with Kingo Root.
Some of the models that you can root with KingRoot are: Samsung Root, LG Root, Sony Xperia Root, HTC Root, General Mobile Root, Casper Root, Vestel Root, Huawei Root, Çin Malı Root, Kore Malı Root …
How to Root Android Devices with KingRoot?
This application is able to root almost all Android devices including the replica ones from China. It is unable to root only if the device is with the newest softwares, updates or bootloader lock. If you wish to root your Android device, you can use this application.
There are two versions of King Root. First one is Apk version to be installed on mobile phone, the second one is used through computers. Our suggestion is to start with Apk then try the computer-related one. Download the applications below and install Apk to your mobile phone. Also, install the PC Setup file on your computer.
You need to adjust some settings before rooting your Android device.
 Step 1: Open Developer Options.
- Go to Settings > About Device > Software Information to enable Developer Options.
- Click on Build Number section 5-6 times repeatedly until you see “You are now a developer”
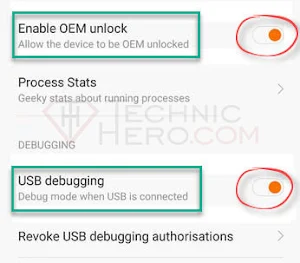
- Then go back to Developer Options and enable OEM Unlocking and USB Debugging
How to Root with King Root Apk?
Step 1: Download King-ROOT.apk file from the link given above and install it on your phone. Find Apk files in your phone through a file manager application and then install it. If you see a warning as Installing Prevented, then go to Options and disable Unknown Sources.
Step 2: Open Kingo-ROOT application. After skipping introduction, you will see a Try-It button. Click on it and Get Now button will appear. All you need to do is to click on Get Now button.
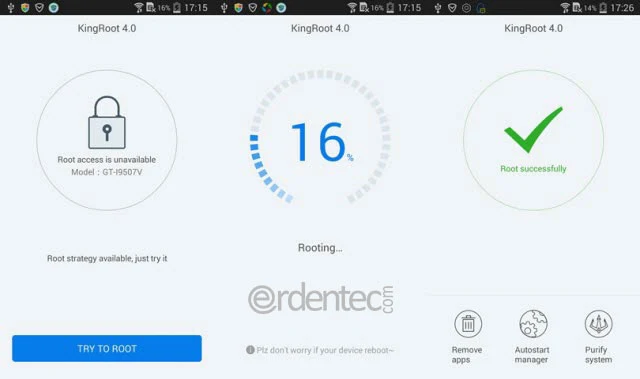
Step 3: At this point, the application will try root tests. The device may restart. If rooting process is successful, then you will see a notification as ROOT-SUCCEEDED. Otherwise, you will see ROOT-FAILED notification. If it fails, then you should try alternative ways to root.
(Press “Download for Windows button” to download)
How to Root through Computer with Kingo ROOT?
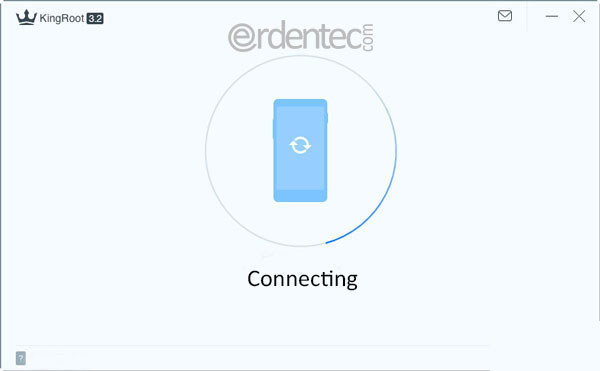
- If you have enabled developer options, open Kingo ROOT application. Connect the device to USB as storage device and plug in USB cable to your computer.
- You will see a notification as ‘’Enable USB Debugging?’’. Click on Always Allow on this Computer option and click on OK
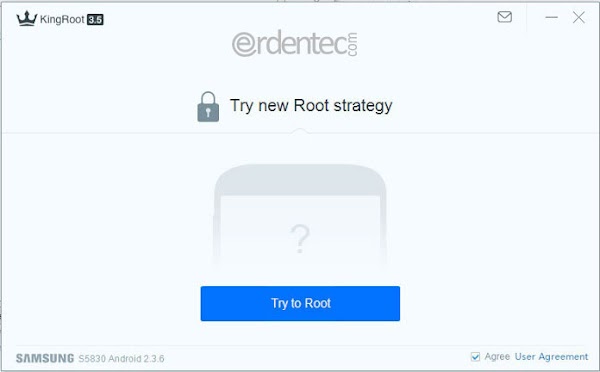
- Drivers can automatically be installed to the computer at this point. You will see TRY TO ROOT button activated after waiting for a while. Click on TRY TO ROOT button to start the rooting process.
- Your phone may restart a few times during the process. When restarting process is finished, unlock your phone and enable media storage option. The application will continue Rooting tests.
- If rooting process is successful, you will see a ROOT-SUCCEED
- If rooting process is not successful, you will see a ROOT-FAILED In such situation, try alternative rooting ways.


")
